
前言
Line Notify 宣布要停止服務了,
預計於 2025年3月31日結束,
需要轉移的大家,剩下五個多月可以轉移
自己原本比較常使用 Slack 來做類似的推播,同時也串了 Line Notify
在 Thread 上轉貼訊息後發現很多人也推薦其他的服務像是 Telegram、Discord 等等
Discord Webhook
Discord 是目前設置的經驗來說非常簡單的,基本上沒有什麼複雜的權限和 Key 要注意,
簡單的產生個 Bot 和取得 webhook URL 就可以開始使用了。
建立 Bot,取得 webhook網址
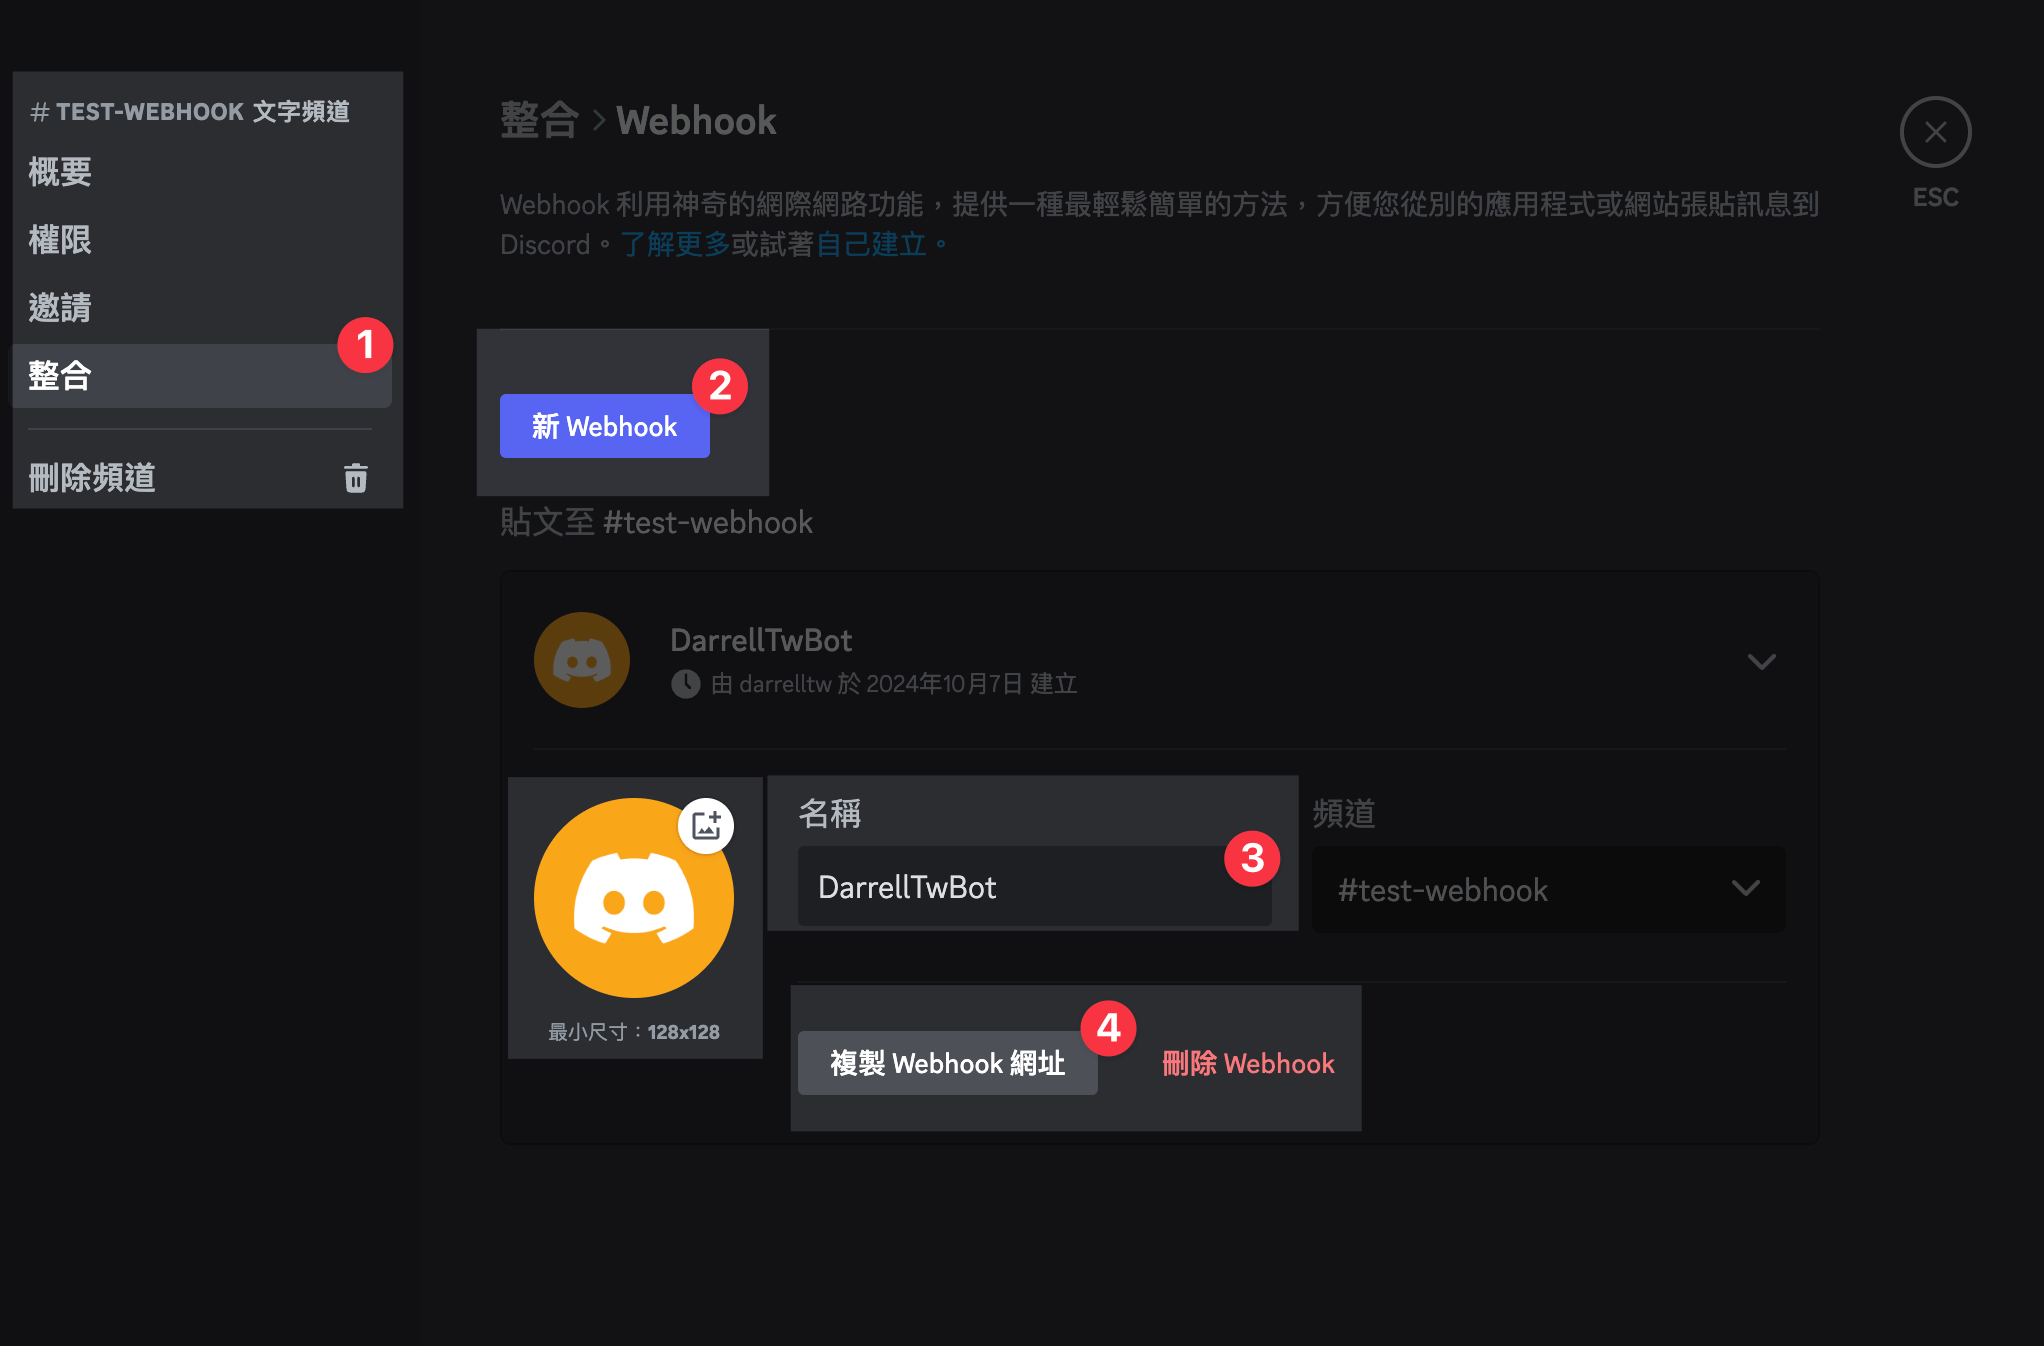
只要簡單一個步驟就能快速建立 Bot 和取得 webhook URL
發送通知
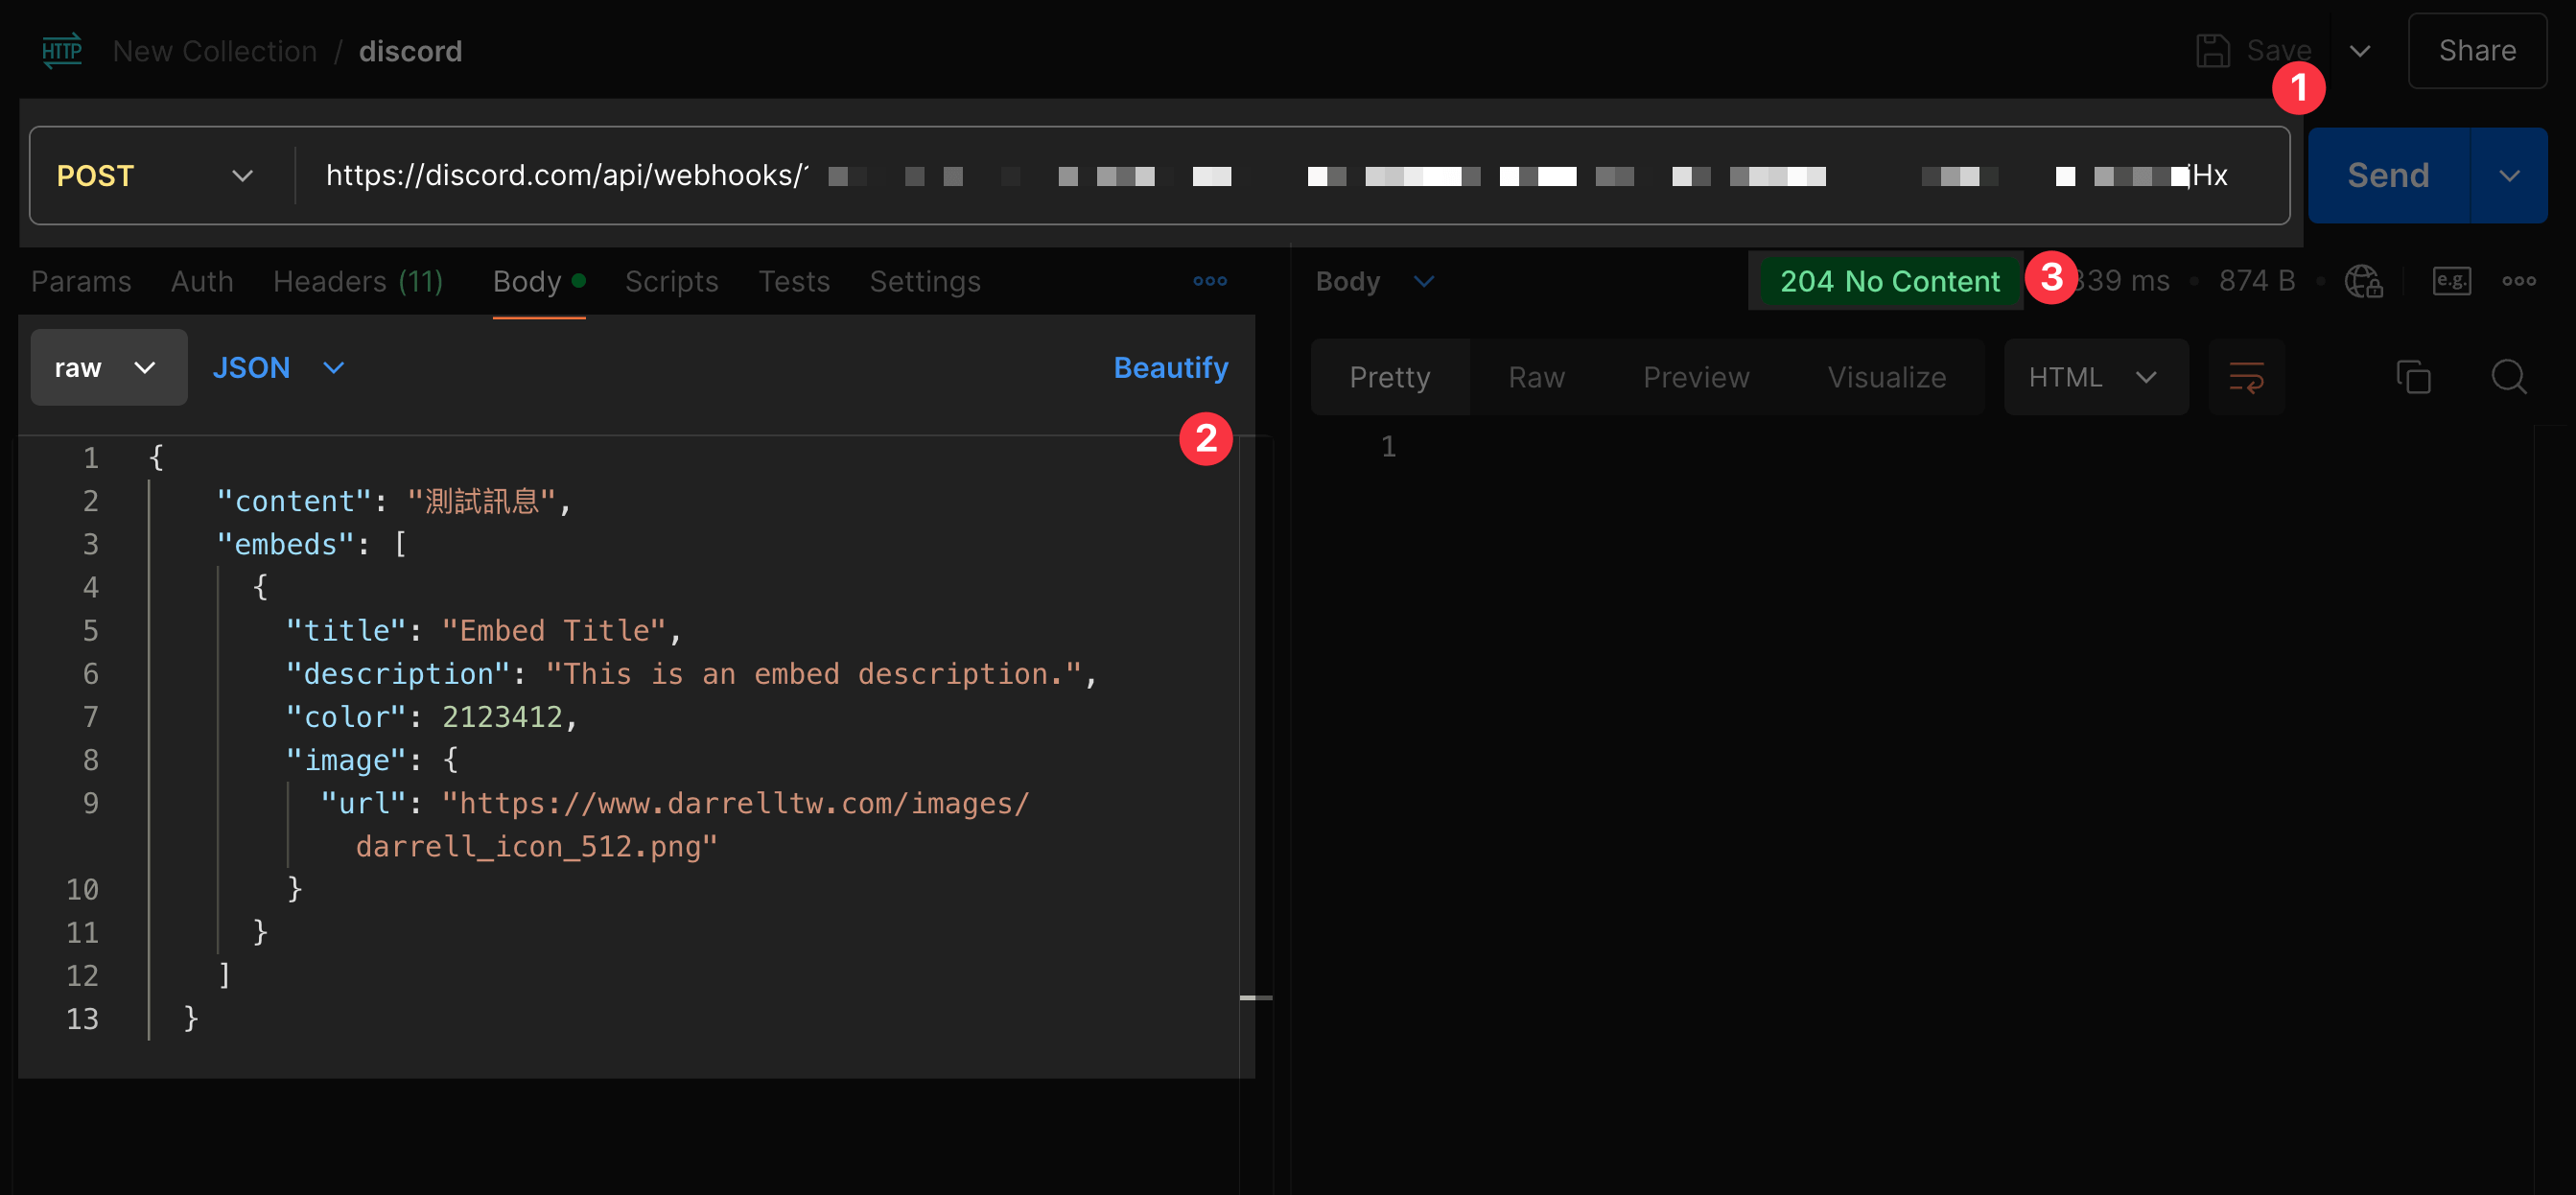
以 Postman 當作舉例,只要把 URL 換成上面拿到的 webhook URL
並用下面的範例 json payload 送出即可!
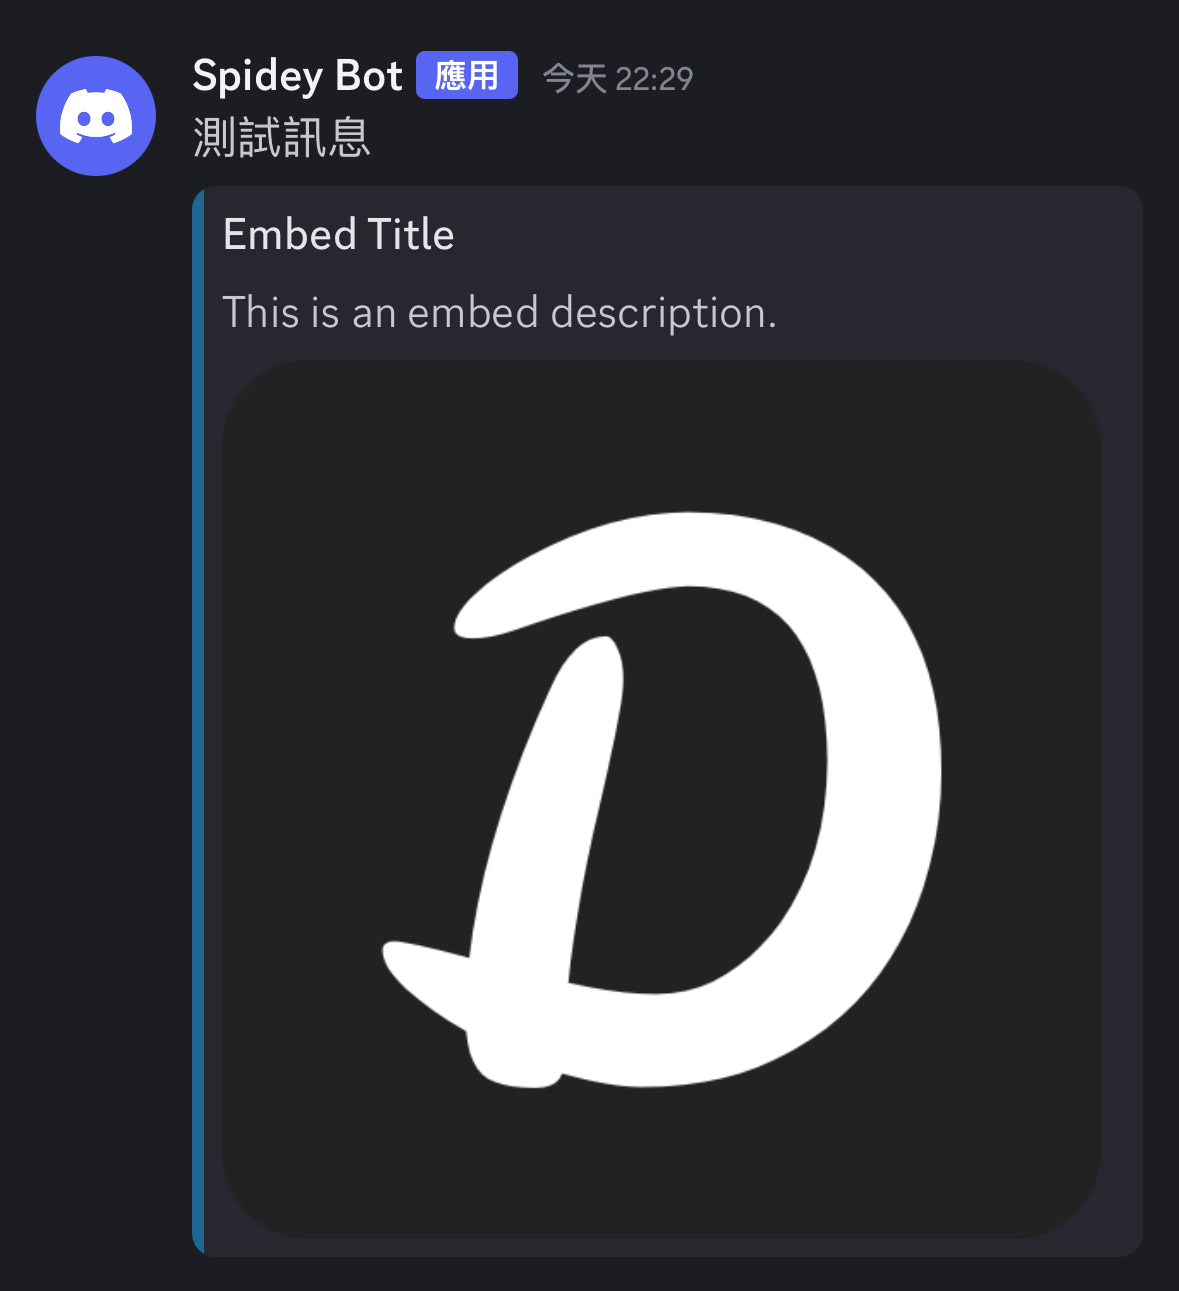
請注意送出後右邊的 response 顯示空白是正常的,只會顯示 Status Code 204
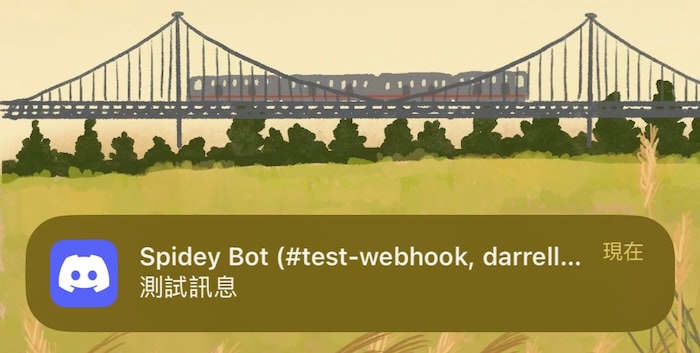
iOS 端接收到的通知如下圖
CURL 語法
1 | curl --location 'https://discord.com/api/webhooks/換成你的webhook URL' \ |
相關的訊息 Payload 可以參考 Discord API 文件
例如上方範例使用的就是夾帶了一個 Embed 的 Object
Discord embed-object
可以嘗試增加或修改欄位來看看不同的效果
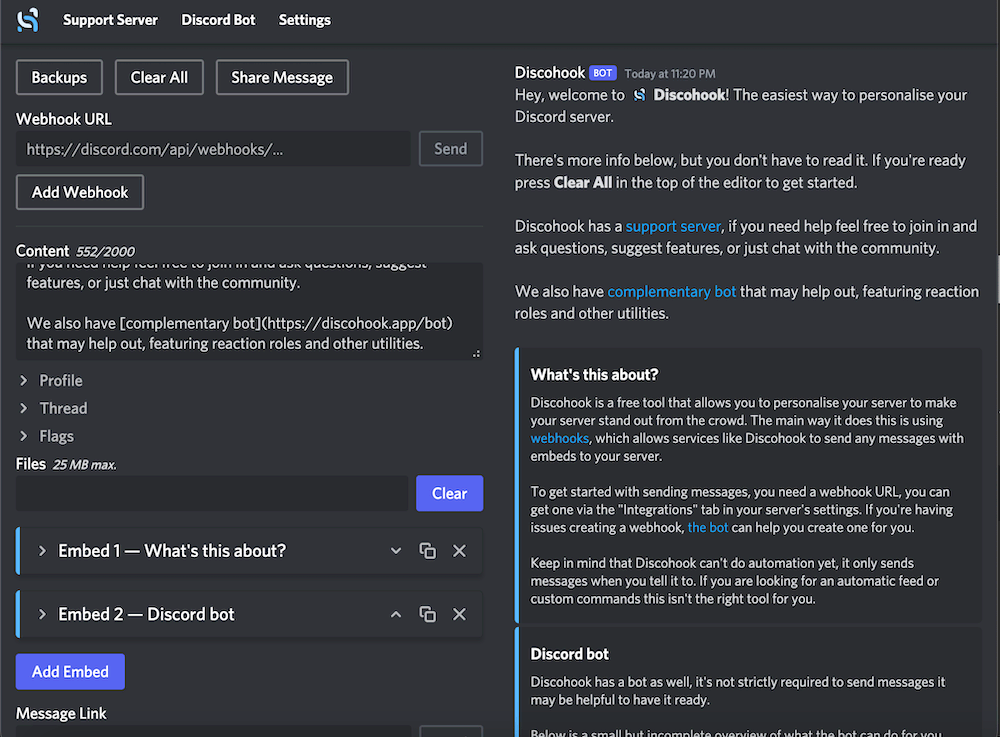
預覽調整訊息的工具
下面介紹的工具是如果你想要建立一個較複雜的訊息
想要有個地方先排版或預覽訊息的樣式
那可以先到這些工具的介面來調整
最後複製 JSON payload 回去程式端發送
Telegram Bot Webhook
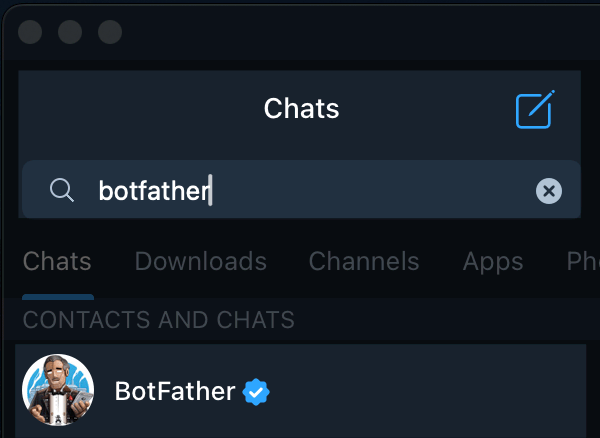
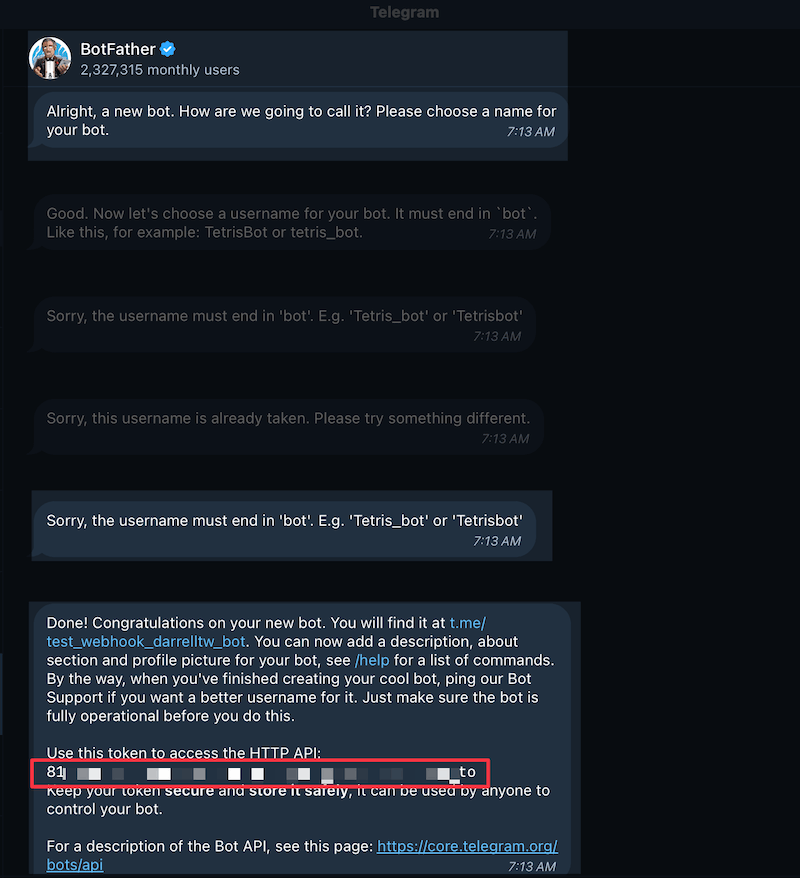
找 BotFather 建立 Bot
在 Telegram 中可以搜尋到 BotFather,開始聊天後他就會詢問你是否要建立 Bot
會有個互動式對話引導你建立
- 輸入 /newbot
- 輸入 Bot 的名稱
- 輸入 Bot 的 username (username 需要是唯一的,並且要是 bot 結尾)
- 最後會提供 API Token
和 Bot 一起建立群組,取得 chat_id
這邊會是比較麻煩的地方
好像需要先和 Bot 一起建立一個群組或是 Channel
並且用 getUpdates 來取得 chat_id
1 | https://api.telegram.org/bot{剛剛取得的API Token}/getUpdates |
發送後會拿到一個 JSON 的 response
1 | { |
發送訊息給 Telegram Bot
利用 Postman 發送訊息給 Telegram Bot
1 | POST https://api.telegram.org/bot{剛剛取得的API Token}/sendMessage |
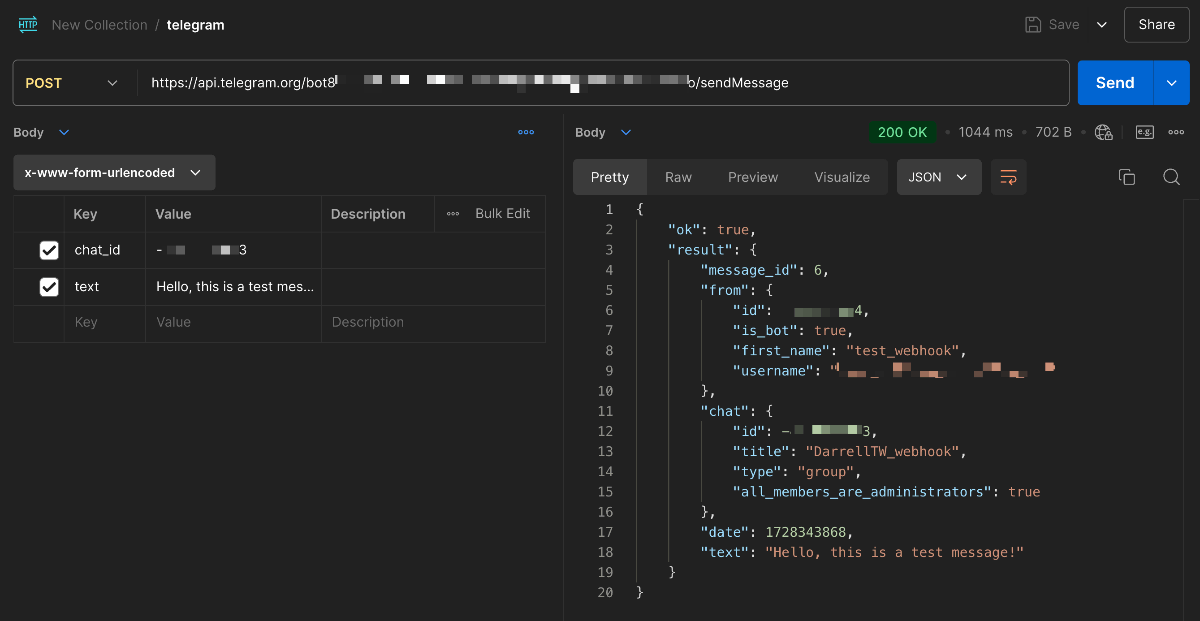
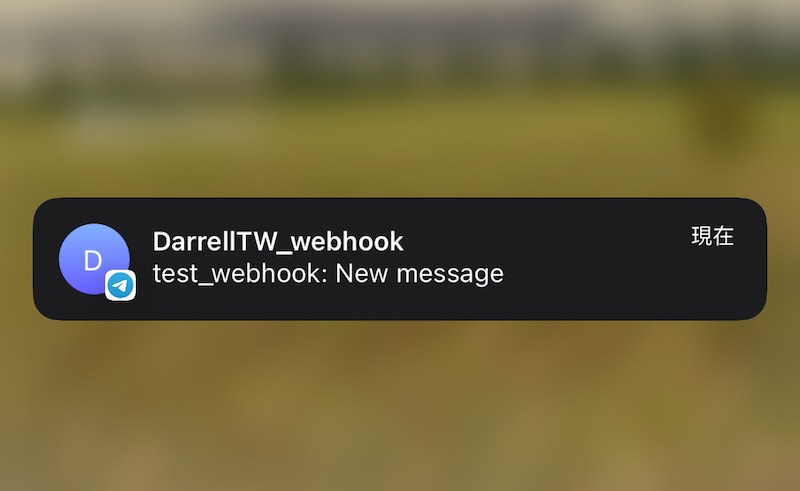
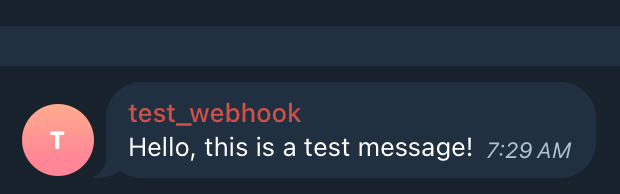
發送成功後,訊息通知就會顯示在電腦和手機上
CURL 語法
1 | curl --location 'https://api.telegram.org/bot{剛剛取得的API Token}/sendMessage' \ |
訊息 Payload 文件
Telegram Bot API - sendMessage
目前沒有找到一些可以預覽調整訊息的工具或服務,
有找到一個 GitHub 上的專案,但因為更新時間已經是八年前,就沒有深入研究了
網址 Playground
提供一個請 chatGPT 幫忙產生的 payload
1 | { |
訊息的樣式會是:
Slack
建立 Slack App
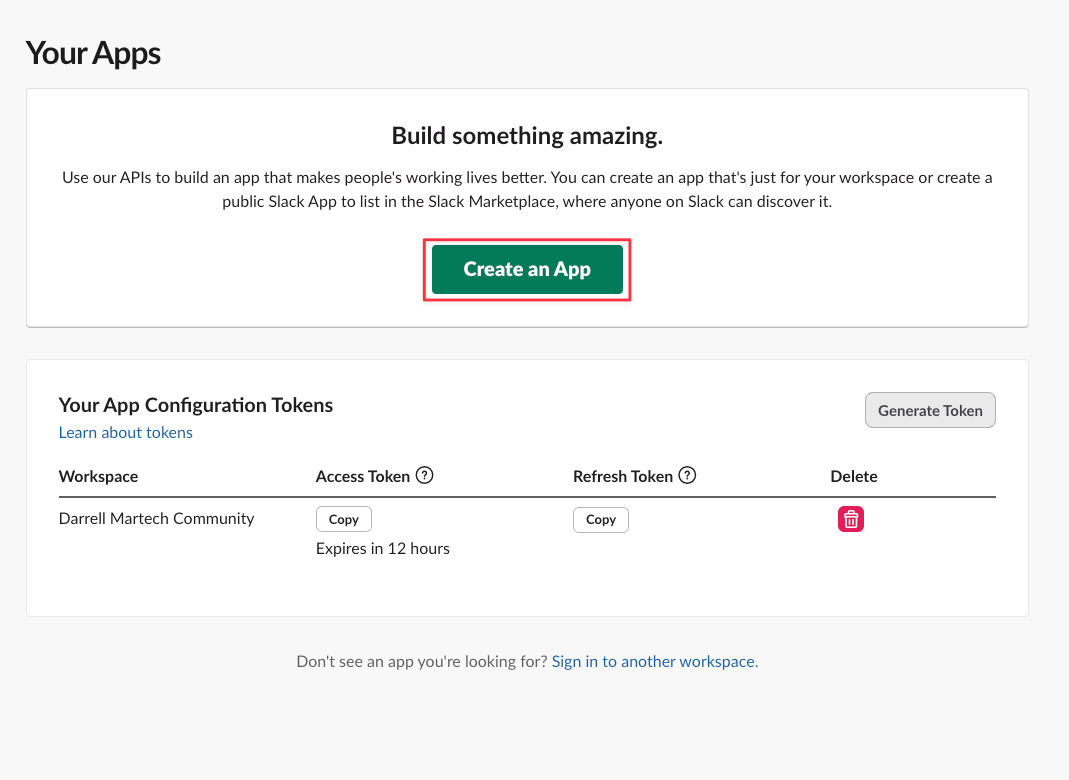
Slack 也是一樣需要先建立個 App,
workspace 這邊可以進入到管理頁面
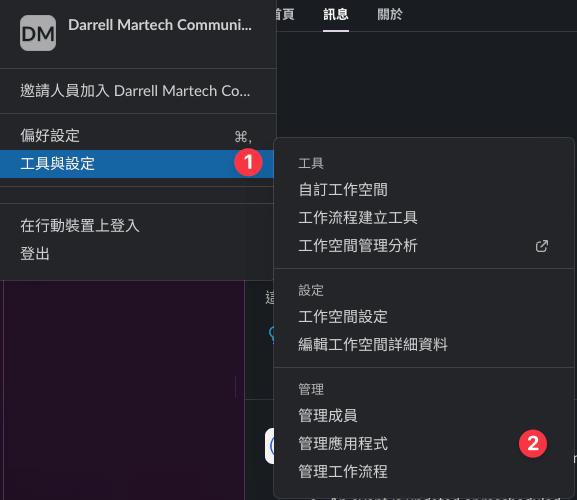
接著就能建立一個 App 了
要開啟 Incoming Webhook 的功能
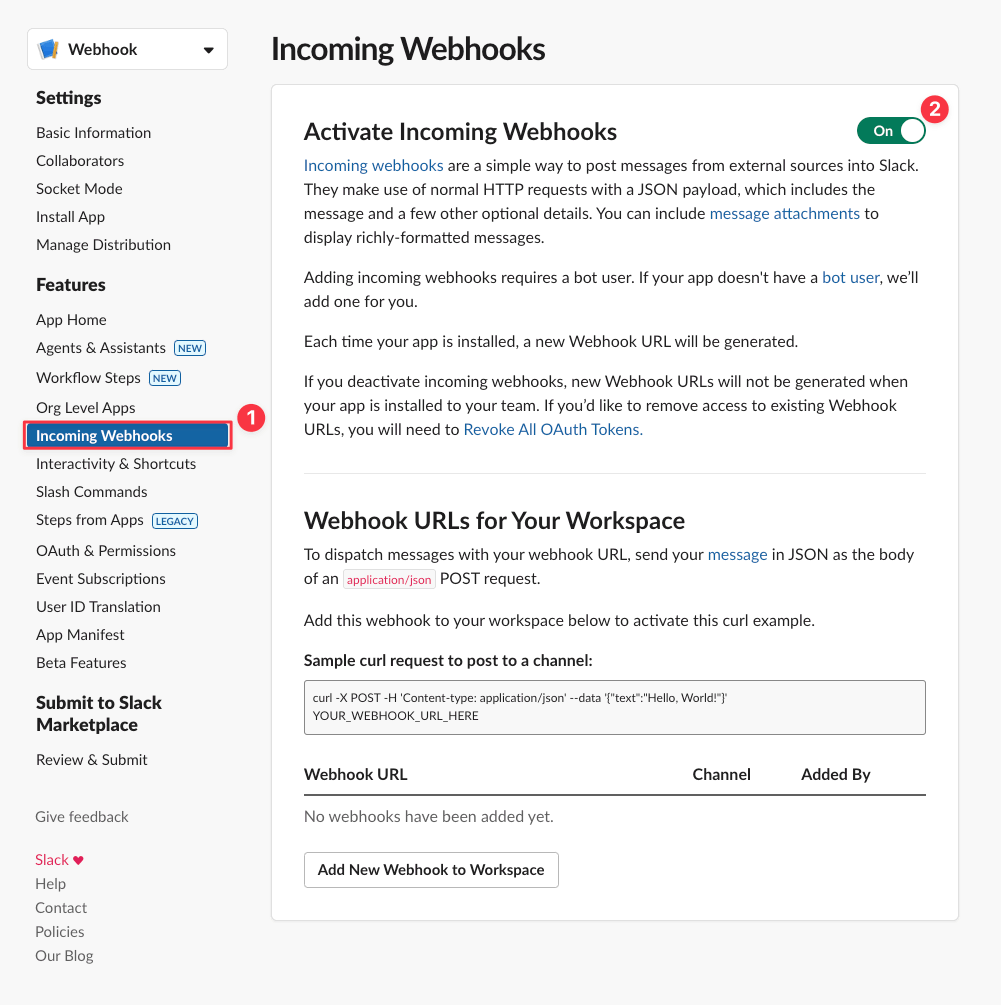
選擇要傳送的 channel
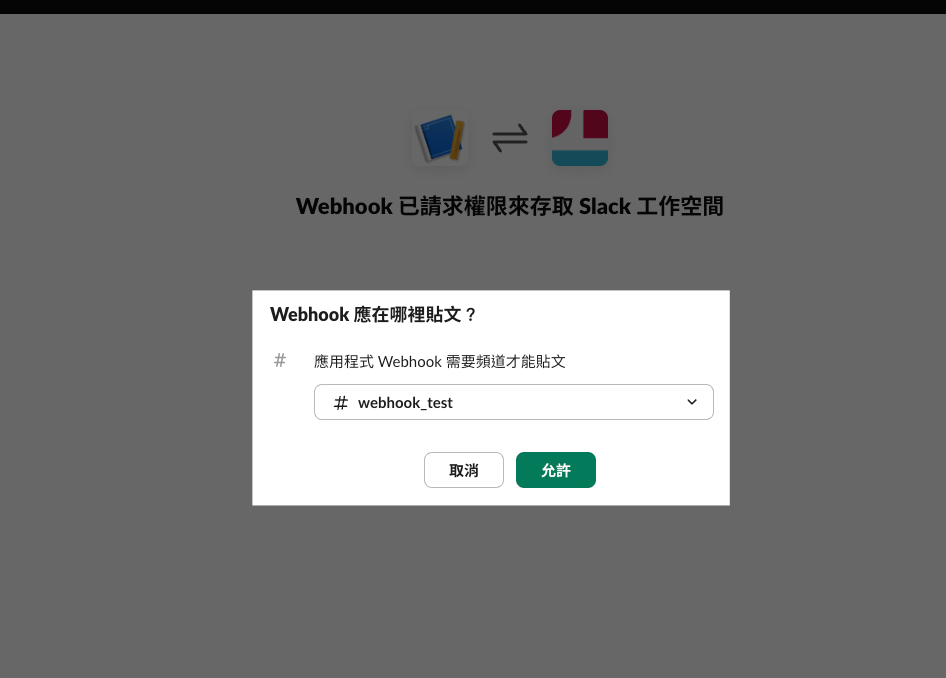
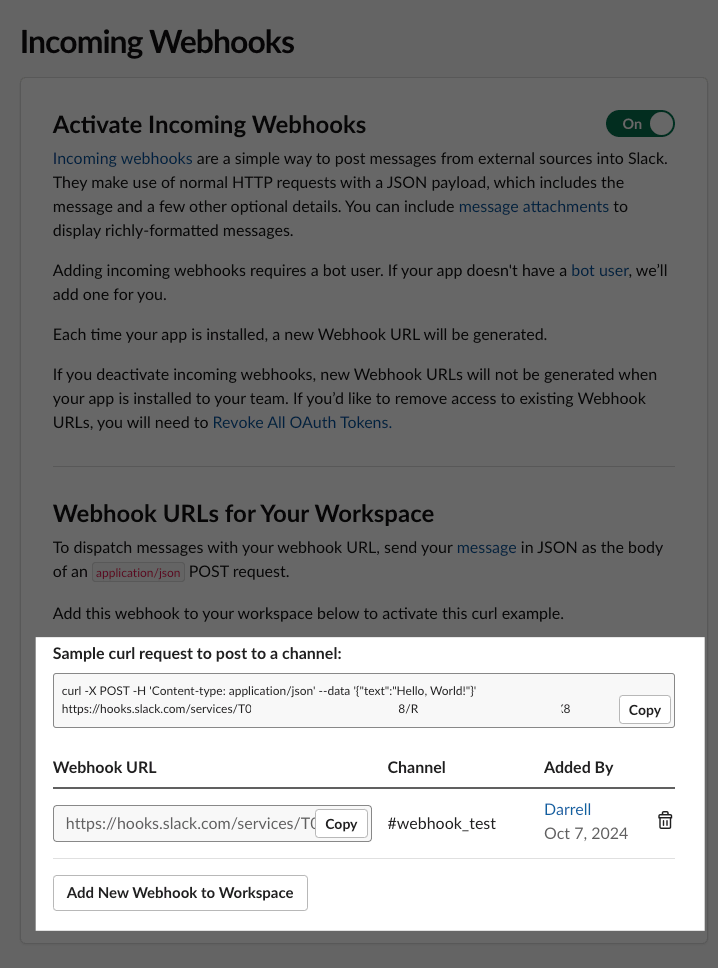
最後就能拿到這個 Webhook URL
發送訊息給 Slack Bot
介面上面很貼心就已經附上了 CURL 語法測試
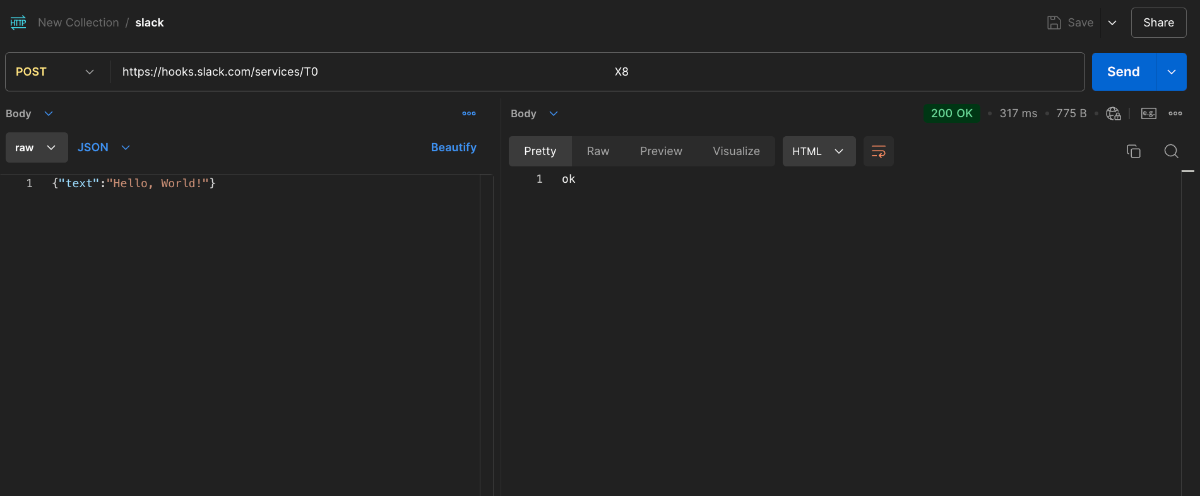
成功就會看到訊息跟通知,並且回傳一個 Status Code 200 加上 ok 非常簡潔有力的回應

CURL 語法
1 | curl -X POST -H 'Content-type: application/json' --data '{"text":"Hello, World!"}' https://hooks.slack.com/services/{換成你的webhook URL}' |
Slack Block Kit Builder
Block Kit Builder
可以用來排版訊息格式的工具,並且也內建了多個模組可以選擇!
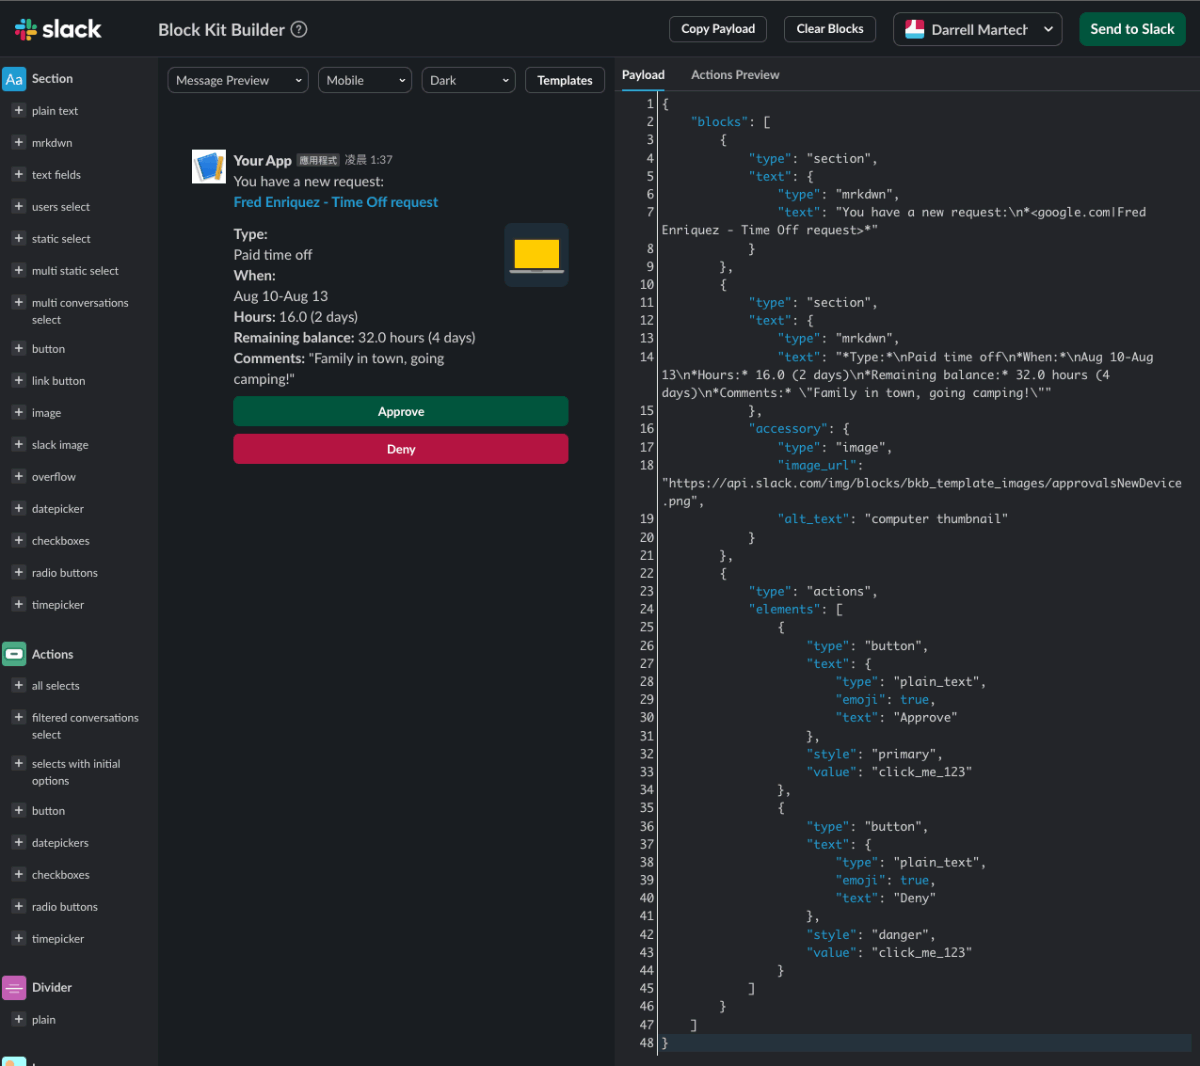
測試時按下右上角的 Send to Slack 按鈕,
就能即時看到送出的訊息會長什麼樣子
列出幾個模組提供參考
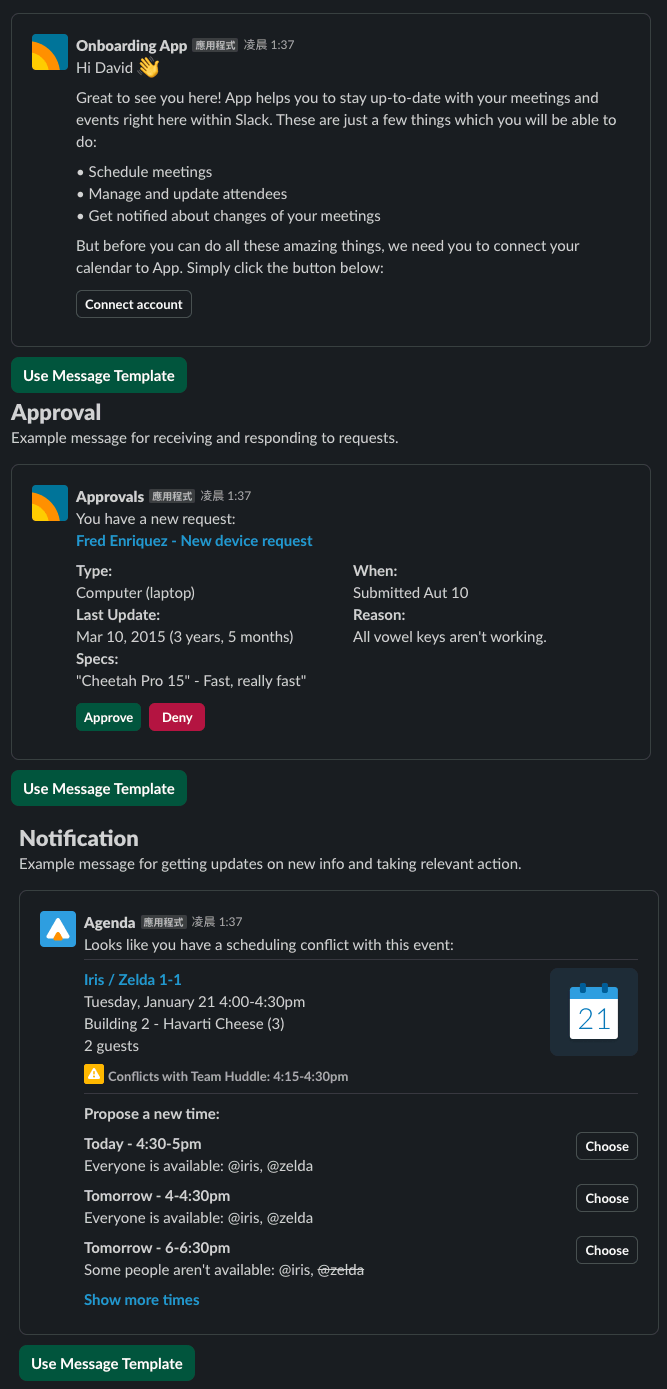
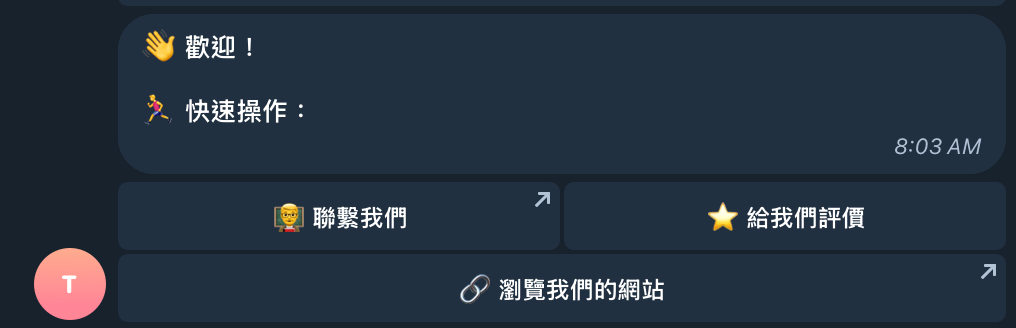
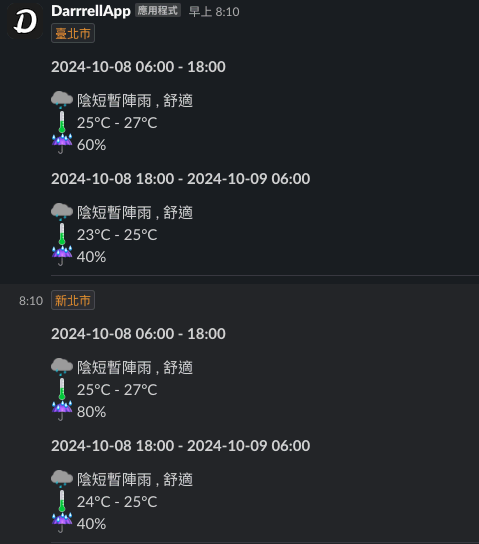
這邊是我用來推播給自己氣象資訊用的格式
Line Messagge API
如果你的需求或環境不適合轉移到其他服務平台上
且願意付費,那 Line Messagge API 就是唯一的最佳解
計費
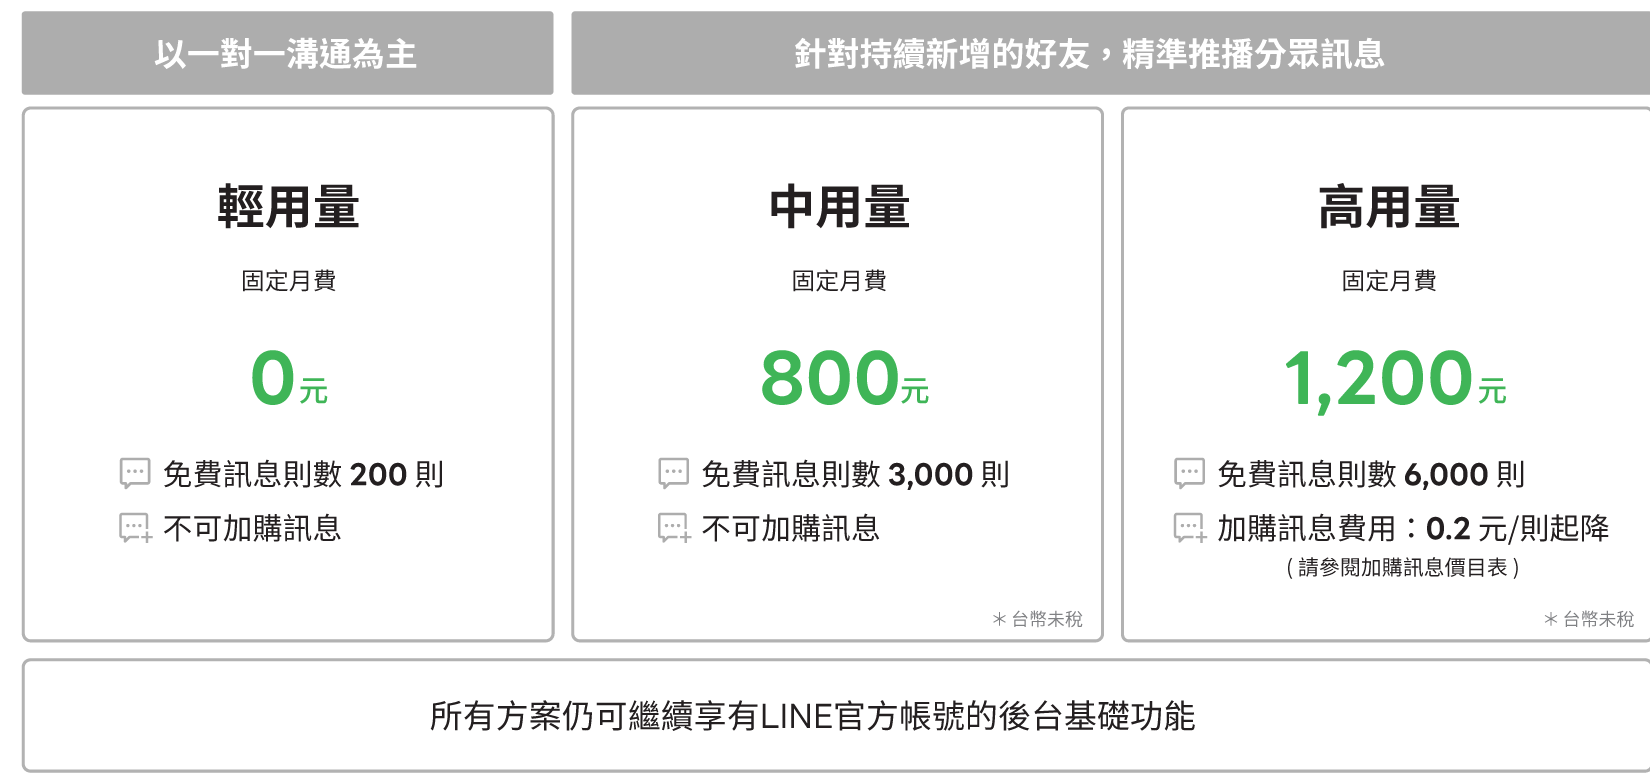
免費方案是 200 次發送/$0/月
中用量 3000 次發送/$800/月
高用量 6000 次發送/$1200/月
使用方式
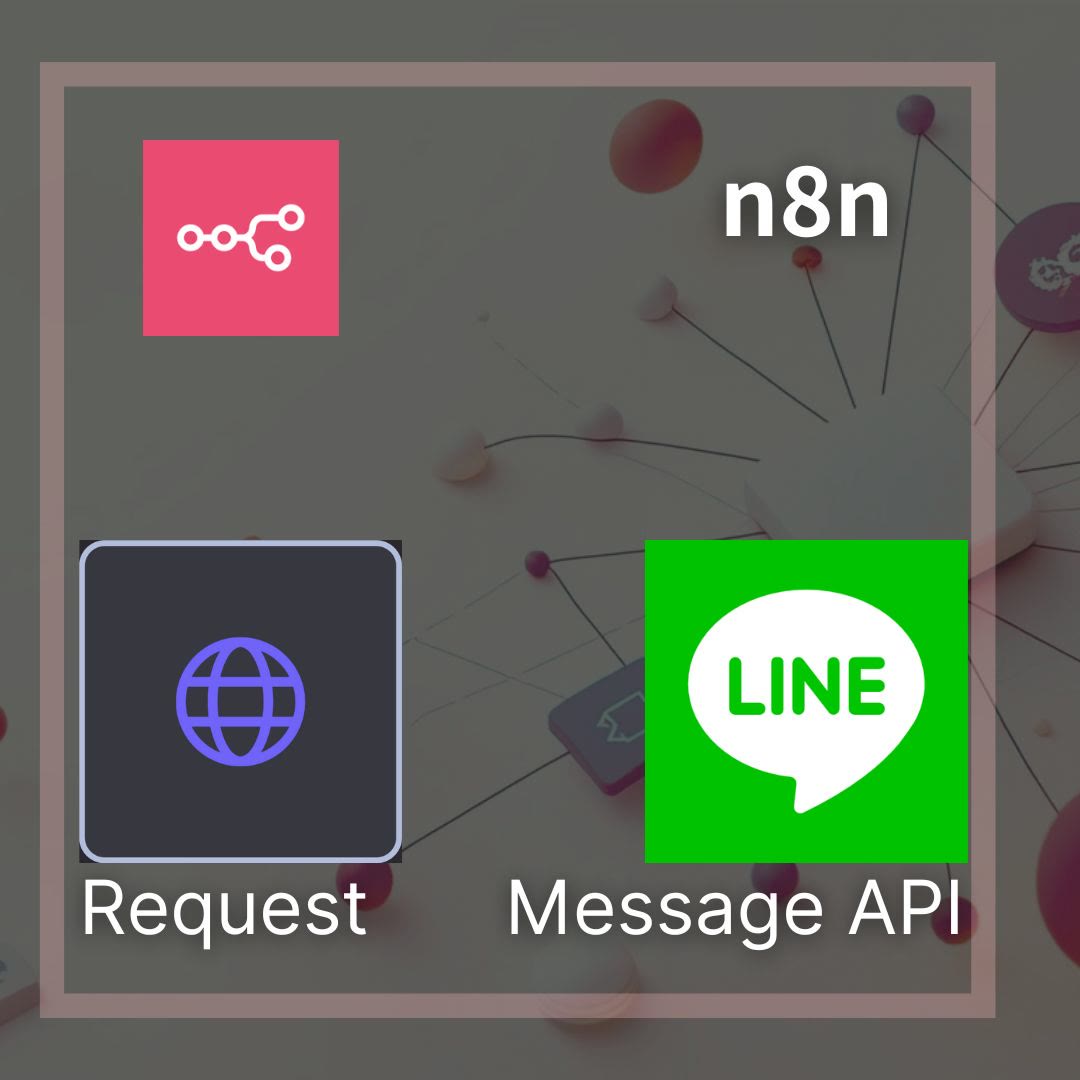
由於這需要技術上的串接,
我的另外一篇有提到如何用 n8n 這個自動化工具來串接 Line Messgae API
用量注意事項
另外有一點必須要特別注意!!!
如果在群組發送 Line Message API
會根據群組的人數來消耗次數
當你用 Bot 發送 Message API 到該群組時
例如群組內有 10 個使用者,會消耗 10 次
所以大量發送訊息到群組會非常快消耗次數,要注意這件事情
檢查目前剩餘餘額Quota
Python
1 | # python 版本 |